How To Draw Flowers in a Watering Can
What's prettier than seeing a fresh bunch of flowers sitting happily in a colourful watering can? How about, a drawing of a bunch of flowers! That's a piece of cake with Quickdraw's easy drawing guide. Copy this cartoon illustration step by step with our YouTube video and instructions to share with your family, friends or art teacher at school. Let's start drawing!
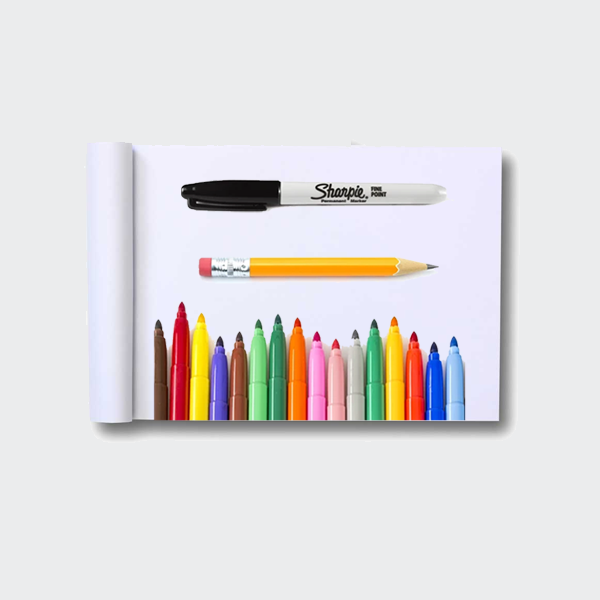
Art materials needed:
A plain sketchpad to draw on, a sharp pencil to draw with, an eraser to rub out messy lines, a black marker pen to go over pencil lines, and a bunch of colouring pencils or felt tip pens to add a splash of colour!
Step 1: Drawing with pencil
-
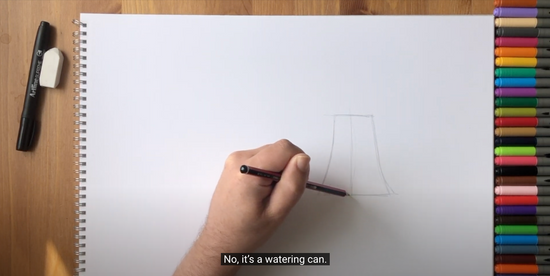
Sweet, let’s go guys! We will be using a pencil, black marker pen, eraser and coloured pens.
Where to start… so we need an object to place our flowers in. It can be a cone, vase, rectangle… but today we will draw a decorative watering can.
To do this, draw the capital letter I with the bottom line wider than the top.
Then we’ll join up those edges with two curvy lines. Nice.
-
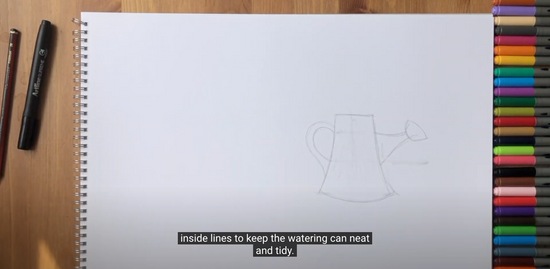
What is this, some kind of upside down plant pot? No, it’s a watering can. And here’s its handle.
Opposite to this, and at roughly the same height, is the spout. Short and stout as the song goes.
-
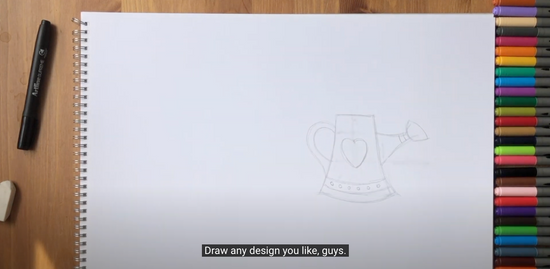
A little tip for all those fussy drawers out there… grab your eraser and rub out the inside lines to keep the watering can neat and tidy.
Yes! Now we can decorate. How about a big heart? Draw any design you like, guys.
-
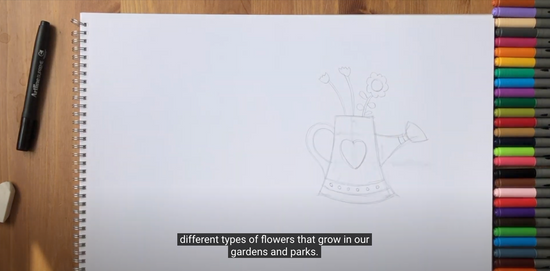
Here comes the bouquet - which basically means a bunch of flowers.
Anything goes here, all you have to remember is that for each flower head you need to have a stem connecting it to the watering can.
-
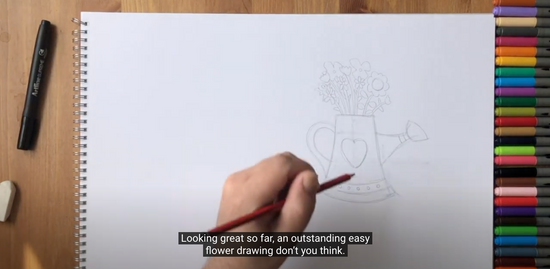
And a flower head can look anything like a fried egg to a cup because there are so many different types of flowers that grow in our gardens and parks.
Each flower stem can have several leaves on it like this.
The more the merrier. Looking great so far, an outstanding easy flower drawing don’t you think.
Step 2: Drawing with pen
-
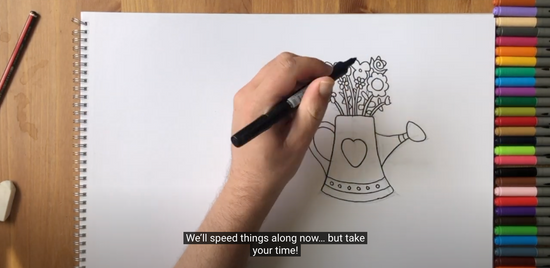
On to step two now, which is drawing our flowers and watering can with black marker pen.
Doing this helps the artwork stand out more, but if you’re happy with just having the pencil lines that’s cool too, and you can skip straight to the final stage… colouring in!
We’ll speed things along now… but take your time!
Step 3: Colouring in
-
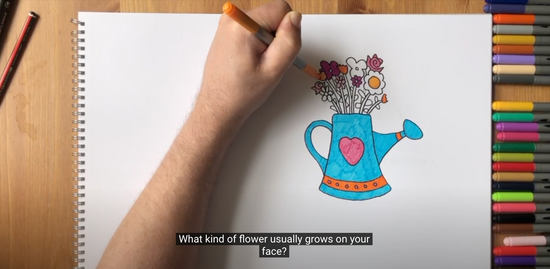
Back for the final part, and that’s colouring in your bouquet of flowers… what a blast!
Use colouring pens, pencils or a combination of both. Go crazy when colouring too… any shade works!
Our pro art tip is to keep the flower heads light, like pink, red, yellow, orange or blue.
And then try a different set of colours for the watering can.
Oh yes, and obviously the flower stems and leaves are green… but you guys knew that already!
Whilst we continue, here’s a fun joke you can share with your friends and classmates…
What kind of flower usually grows on your face? The tulips. Oh, how funny.
Alright, finishing up now. And this is a great example of how to draw flowers… super job, guys.
More cartoon drawing ideas right here...
Try an online art tutorial
Ready for more easy drawing ideas. Try one of Quickdraw's art tutorials and improve your sketching and colouring in skills to expert level!
