How To Draw a Desert Island
Time for a beach holiday? Let's get inspired by sketching a sunny desert island with pencil and coloured pens, step by step. Just watch the video or follow the instructions below to learn how. Drawing and colouring in a desrt island cartoon takes around 5 minutes to complete. Don't forget to share your artwork with family, friends or your art teacher at school!

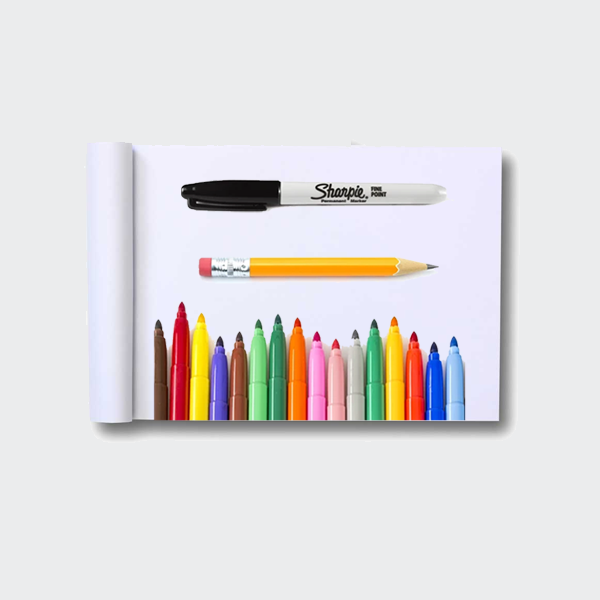
Art materials needed:
A plain sketchpad to draw on, a sharp pencil to draw with, an eraser to rub out messy lines, a black marker pen to go over pencil lines, and a bunch of colouring pencils or felt tip pens to add a splash of colour!
Step 1: Drawing with pencil
-
Grab a pencil, black marker, eraser and a few colired pens or pencils.
Drawing a desert island might sound challenging, but it’s really quite simple… you’ll see.
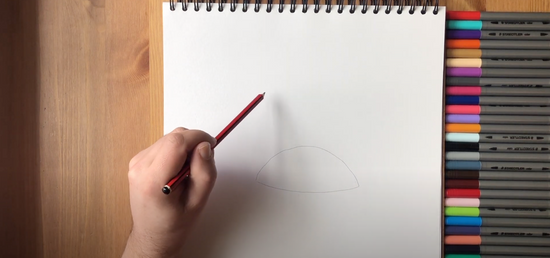
The first and most important part is the bank of sand. Create this by drawing a semicircle with a rounded bottom edge.

-
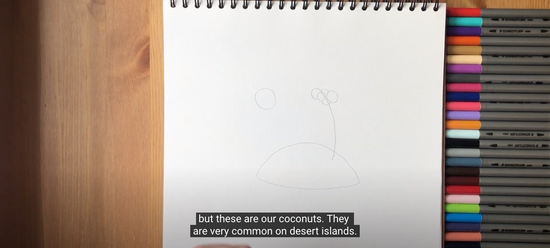
Part two is the sun. A smooth circle just above our little beach.
And lastly, a nice, strong palm tree.
Draw a curved line from the beach upwards - palm trees always bend for some reason!

-

At the top, a cluster of circles. Hmmm… looks like some balloons on a piece of string, but these are our coconuts. They are very common on desert islands.
Another line upwards on our palm tree’s trunk.But we’ll just use this as a guide.
Split your palm tree trunk into small sections - each section will look like it’s growing from the one underneath.
Ok great work so far.
Add a few long and lazy palm leaves, maybe three or four. These leaves can offer our bunch of coconuts some shade from that blazing sun.
Each pointing in a different direction. And nice jagged edges.

-

To show how hot it is on our island, we can draw a ray of heat around our circular sun.
And to finish off, a collection of sharp waves surrounding the island. The sharper those points, the choppier the ocean is going to be. If there are no sharp points, then it means the ocean is calm and smooth.

Step 2: Drawing with pen
-

Great, now for the marker pen. Easy as you like, go over those outside pencil lines.
For the coconut palm tree, remember to go over the separate pieces and not the original long, bendy lines we drew first.
Hey, maybe we can draw one or two little creatures washed up on our desert island.
How about a starfish? They live in the ocean.
And a large shell, in case a nearby crab crawls in to give itself a home.

Step 3: Colouring in
-

It’s time to get colouring. Grab some bright shades of pens from your art kit.
For the sandy bank, we’re using a light brown. But yellow is just as good as this is a normal beachy colour too.
Did you know, across the world are beaches filled with bright purple, pink, red, green, black, orange, and white sands. That’s right, even white sands. How about that!
It’s sometimes because of the rocks washing ashore, volcanoes erupting with ash over hundreds of years, and miniature pieces of coral under the water that mix with grains of sand to form such breathtaking colours.
Ok, looking good. Moving on to the sun with a hot, strong yellow.
And then one or more shades of brown for the trunk of the coconut tree.
You can use those browns for the coconuts too.
Now on to our palm leaves, which can light, dark or mid-tone green.
Mmmm.. those crashing waves can be so relaxing.
A light starfish.
And a blue for our shell.
Which leaves the ocean. Blue works best, but if you’re feeling creative try leaving some white space around those sharp wave lines - the white usually means that the waves are frothing up. It’s a neat trick!

More cartoon drawing ideas right here...


Try an online art tutorial
Ready for more easy drawing ideas? Try one of Quickdraw's art tutorials and raise your sketching and colouring in skills to expert level!