How To Draw an Igloo in the Snow
Igloo drawings are easy when you have a simple set of guidelines to follow. This art idea teaches you how to craft an eskimo igloo made from ice with your pencil and coloured pens, step by step. Just watch the video or follow the instructions below. Drawing and colouring in an igloo takes around 5 minutes to complete. Don't forget to share your artwork with family, friends or your art teacher at school!

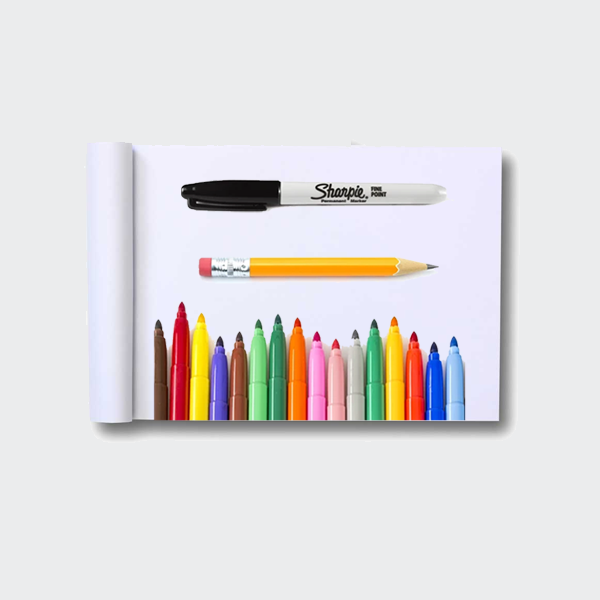
Art materials needed:
A plain sketchpad to draw on, a sharp pencil to draw with, an eraser to rub out messy lines, a black marker pen to go over pencil lines, and a bunch of colouring pencils or felt tip pens to add a splash of colour!
Step 1: Drawing with pencil
-
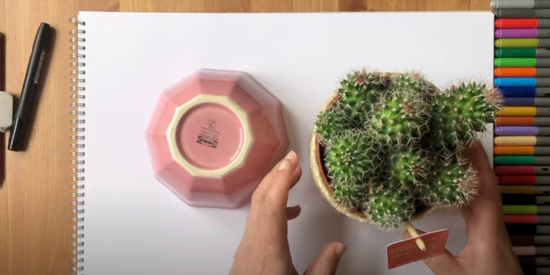
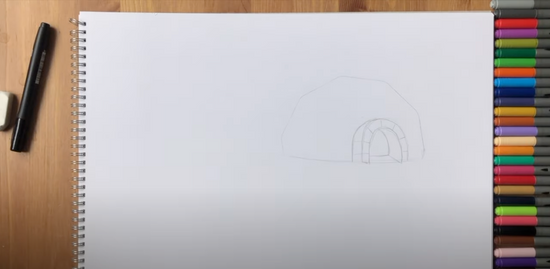
To begin, we need to draw around a round shape - you can find objects around the home like a plant pot, bowl, mug or a lid.
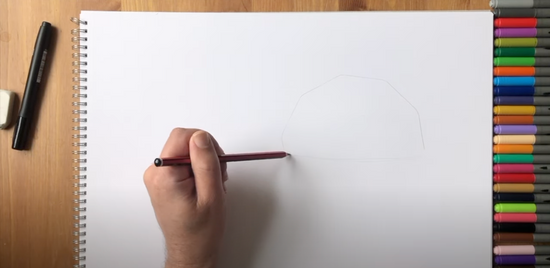
Take your pencil and draw around the top half only.

-
We can join up the ends so our shape starts to look like the outside of a little hut. And that’s pretty much what an igloo is… a hut made of ice.

-
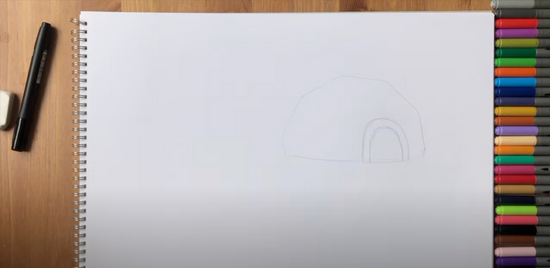
On one side of the igloo draw an arch for the door. This is almost like an upside down letter U.

-
The igloo door is also made of ice. So we need to make some lines to show where the blocks of ice are stacked together, like this.
Feel free to add extra detail like we are here.

-
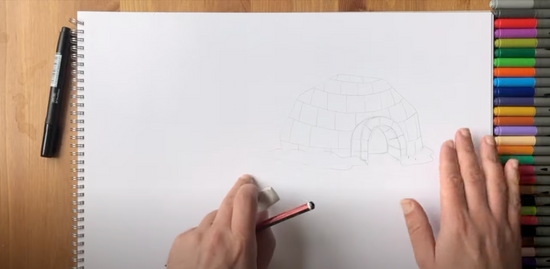
So, onto the main igloo walls - actually it’s only one wall that goes all the way around. And it’s layer upon layer of ice blocks.
Top draw them we simply mark out lines starting at the top and right down to the bottom. And then add lines going down between them.
Think of bricks in a wall - except igloo ice blocks are much larger and there are less of them.
All done, awesome job.
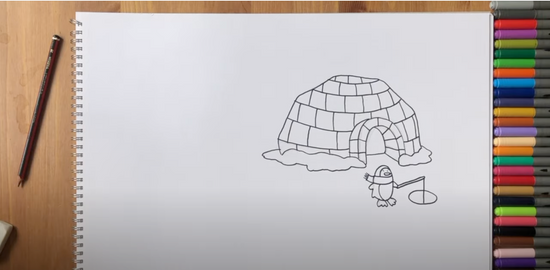
How about a clump of snow just outside the door? Maybe one on either side. It’s snowy out there after all.
And that’s a mighty fin igloo you’ve learnt to draw there!

-

For all you experts out there, why not draw a small penguin outside of the igloo. Our penguin can be fishing from a hole in the ice. Fishing for fresh fish.

Step 2: Drawing with pen
-
Oh boy, this is a fun part.
Take out your black marker pen and trace over those pencil lines nice and smoothly.
There are lots of lines here so take care to keep them as straight as you can.
Hey how about a fun dad joke while we make our igloo artwork?
What do you do if your ice house falls apart? Igloo it back together! Hehe.
Alright, now we’re almost done learning how to draw an igloo… next up, grab your blue colouring pen or pencil.

Step 3: Colouring in
-
Listen up guys, here comes a pro art tip for colouring in your igloo drawing.
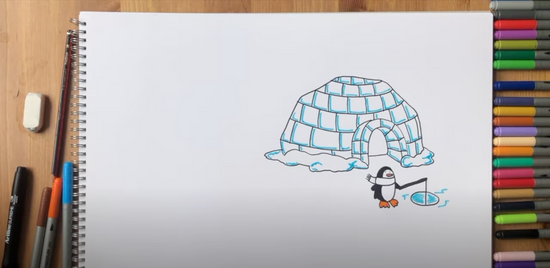
Because igloo blocks of ice are white, we don’t need to colour them in. But to show the ice is cold we can give them a blue tint.
Drawing a blue line at the bottom and on one side of each ice block creates this effect nicely.
Keep going until you’re finished! Including the arch door and puddles of snow outside.
Lastly, some colour for our penguin if you have drawn one.
Fantastic work. Thank you for watching - see you soon!

More cartoon drawing ideas right here...


Try an online art tutorial
Ready for more easy drawing ideas? Try one of Quickdraw's art tutorials and raise your sketching and colouring in skills to expert level!