How To Draw a Birthday Cake
Drawing a birthday cake is a fantastic idea for a present for your friends, borther, sister, mum, dad and even your teacher. Learn how to illustrate and colour in your very own birthday cake cartoon easily in this step by step guide from Quickdraw. From candles to icing on the cake, you can have a great time completing this tutorial. It's suitable for children as young as four. Check out the video and pictures below...

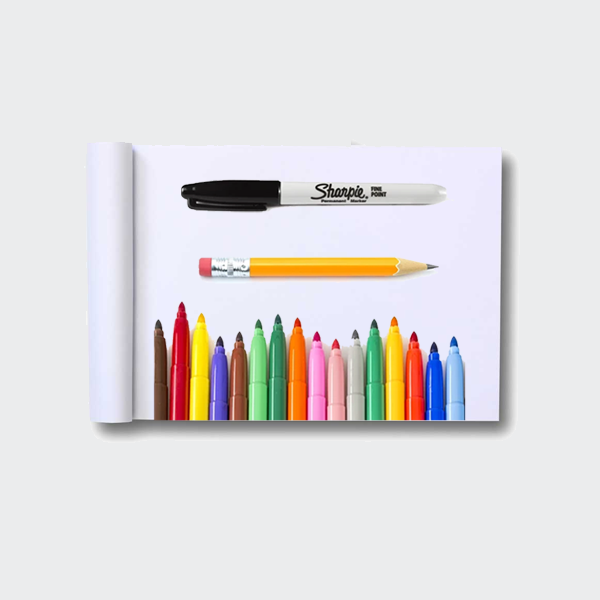
Art materials needed:
A plain sketchpad to draw on, a sharp pencil to draw with, an eraser to rub out messy lines, a black marker pen to go over pencil lines, and a bunch of colouring pencils or felt tip pens to add a splash of colour!
Step 1: Drawing with pencil
-
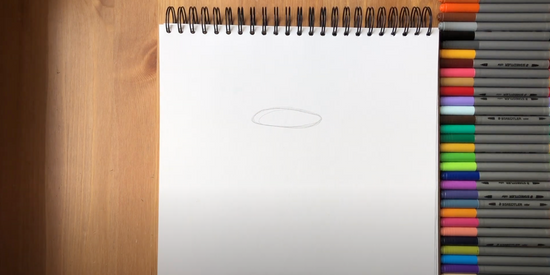
This is going to be a tiered cake, which means it has layers on top of one another. To start, we’ll sketch out a flat, wide circle.
It looks a lot like a drain cover or the halo for an angel.

-
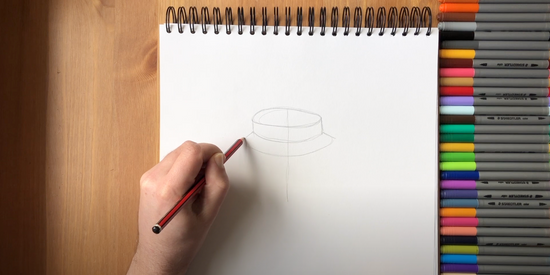
Draw a guideline down the centre like this if that helps.
So, our top tier is the smallest, and will have a curved bottom edge and two short sides. This shape is actually called a cylinder… cylinders are thick circles.
Right now, this birthday cake cartoon illustration could be mistaken for some kind of hat. But wait...

-
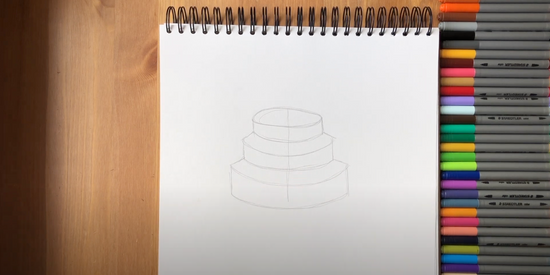
Next comes the second tier, which is much wider. To draw this we add two lines diagonally, not straight down to show the width.
Then we can repeat the same steps as before, with two short lines at the side and a curved bottom edge.
Now for our third and final cake tier… even wider than the first and second.
You guessed it, diagonal lines out to the side, then short lines down and a humongous curved bottom.
Great job.

-
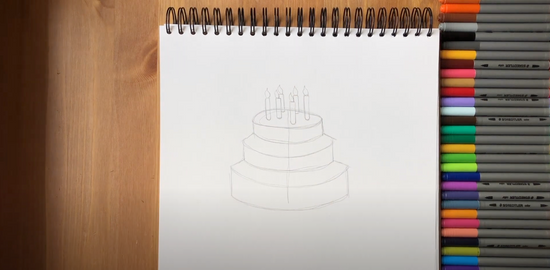
This is a special birthday cake after so, which means we need to stick on a bunch of birthday candles. How many do we need…? Haha, that depends on how many you can fit on your cake.
These candles will be narrow and long like french fries. And have stripes too.
Now for some tiny flames on top, ready to be blown out after a big birthday wish.

-
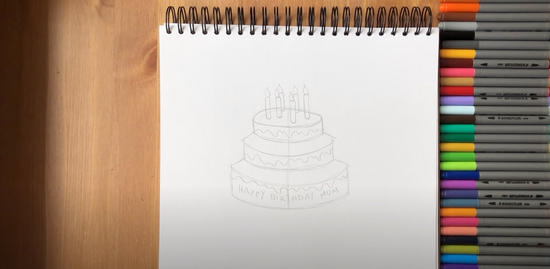
So, who loves cake icing? Haha, who doesn’t.
This cake is going to have a layer of icing poured generously on each tier. We can show this by drawing a wavy line which makes it look like the icing on top is running or dripping downwards.
Mmmmm. This cake is turning into a mouth-watering masterpiece.
You should have some space on the bottom tier to write a short birthday message to someone you love. As long as their name doesn’t contain too many words, haha!
We’re writing “Happy birthday mum” on this cake.

Step 2: Drawing with pen
-
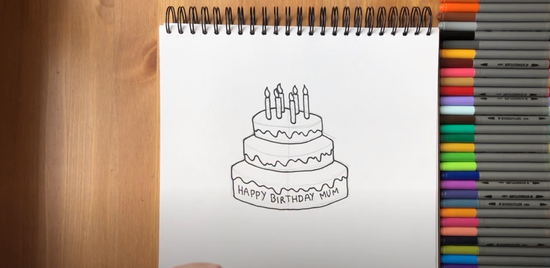
Where’s that black marker? It’s time to trace over our pencil lines. Start wherever you like, top or bottom.
Our pro art tip is, when going over the top layer of the cake make sure that line is behind the candles, not through them.
Watch how it’s done before you give it a go, if you’re not too sure.
Our second secret art tip is join the sides of each layer of cake up with the wavy line of dripping icing. Then you can rub out the curved line above. This is also tricky, so pause and watch before you try.
And down we go, repeating those steps until we have outlined the entire birthday cake with our black marker.
Back on the topic of cylinders and some fun learning. If you were looking at a cylinder from above it would appear round, but when looking at it from the front it would be flat like our cake tiers. Can you think of any other examples of cylinders?
How about a gold coin, biscuit tin, cans of soft drink, toilet roll or car tyre. These are all cylinder shapes.
Ok, a quick piece of handiwork with our eraser to remove those old pencil lines like so.
Nicely done guys.

Step 3: Colouring in
-
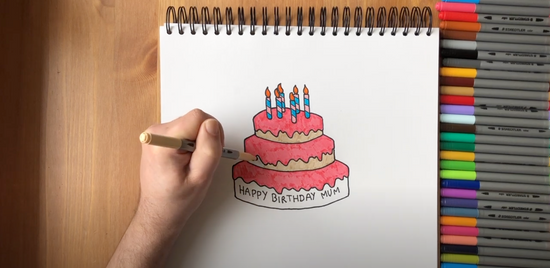
And on to our favourite part, the colouring in.
Hmmm… pink for the icing and a light brown for the cake mix underneath? Sure!
Now for the candles. A cool blue and pink combination with a strong orange or red flame to top it off.
Hey, want to hear a hilarious joke about birthdays whilst we colour?
Why couldn't the teddy bear finish his slice of birthday cake? Because he was stuffed. Haha.
One more for the road…
A man says to his doctor, I get heartburn every time I eat a birthday cake. The doctor replies, next time, take off the candles before you eat it!
Oh boy, too funny.
So, how’s that cake looking? We’re almost done now.
Such a great job boys and girls.


