How To Draw Easter Eggs
Drawing Easter eggs is a fantastic idea for any time of year, not just over the Easter period. Learn how to illustrate and colour in your very own basket of Eastr eggs cartoon easily in this step by step guide from Quickdraw. Let your imagination run wild with the endless patterns and colour combinations you can use. This art tutorial is suitable for children as young as four. Follow the video and pictures below...
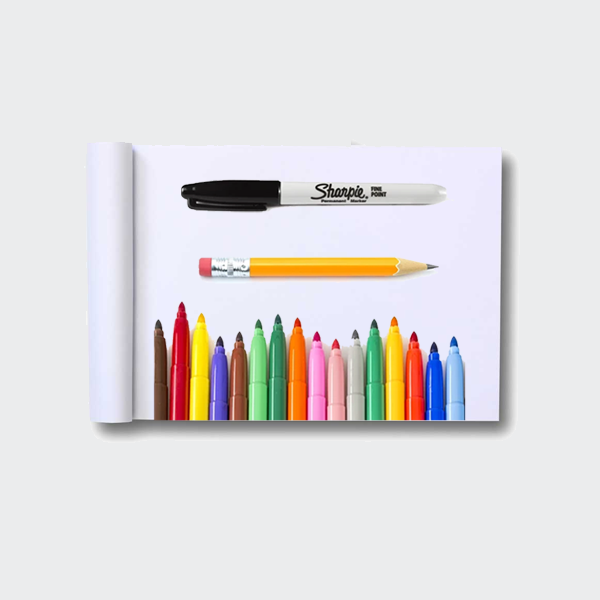
Art materials needed:
A plain sketchpad to draw on, a sharp pencil to draw with, an eraser to rub out messy lines, a black marker pen to go over pencil lines, and a bunch of colouring pencils or felt tip pens to add a splash of colour!
Step 1: Drawing with pencil
-

For this Easter holidays-themed drawing idea children and parents, we will draw a single Easter egg and a basket of Easter eggs side by side. On the left, for the lonely Easter egg, sketch either a circle with a pointy top end or draw around an actual egg from the kitchen.
And for the basket of eggs, we're going to do this slightly differently in that we will sketch out the circular basket first and drop the eggs in (not literally, don't worry!) after.
-

Ok, so here we have our egg on the left. Notice how we have already drawn on lots of interesting patterns on the wrapper? You can go crazy with any design ideas you like, even drawing a picture of your family or a favourite cartoon character on it!
And to the right, we have left the top half of our basket unchanged, but drawn out two lines down the sides, and one across the bottom. Looking more basket-like now, isn't it? Then across the middle, two lines joining the sides.
-

Time for some eggs in this illustration. Kids, draw in as many as you can fit into your basket. You should have room for about four or five. To fit some in at the back, just draw the tips, not the whole egg.
-
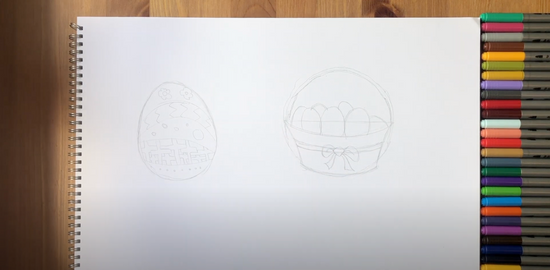
Let's decorate our Easter basket with some fancy riboon at the front. Ribbon looks neat when it has a bow tied in a knot and we can do this by sketching a trinagle, with two ears poking out and then two pieces hanging off them. That's our pretty bow taken care of.
Step 2: Drawing with pen
-
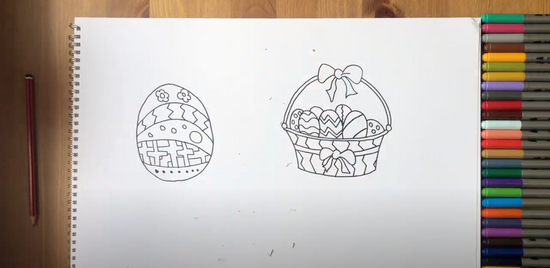
Out comes the black marker pen. We use this piece of art kit because it helps the outlines of our cartoon drawing stand out stronger than pencil lines do. But if you don't have a marker or want to go straight into colouring, by all means skip ahead!
When using your black marker pen trace over all outside pencil lines and keep the tip smooth and steady. Then when the ink is dry you can erase the pencil lines underneath so your Easter egg basket drawing looks clean and tidy like the image above.
Step 3: Colouring in
-

On to the final part of our easter egg illustration. You've done a cracking (oh, what a bad joke) so far! Think about which colours go well together, and those which can make your artwork look bright and cheery. Because Eatser is a fun time.
Thanks for joining in, and don't forget to share your artwork with your friends and teachers!
More food drawing ideas right here...
Try an online art tutorial
Ready for more easy drawing ideas? Try one of Quickdraw's art tutorials and raise your sketching and colouring in skills to expert level!
