How To Draw an Ice Cream Tower
Hey guys and girls, in this one-of-a-kind quick art lesson you will learn how to draw the best cartoon ice cream tower possible, step by step. It's simple to follow and suitable for children as young as five. Illustrating and colouring in ice cream is tons of fun because you can choose your favourite toppings and flavours to add onto each scoop. We've also made a YouTube video for you to watch too! Check it out below...
Art materials needed:
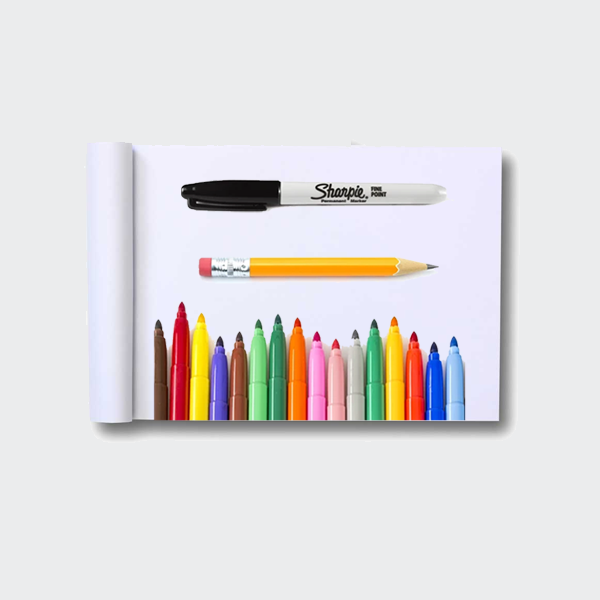
A plain sketchpad to draw on, a sharp pencil to draw with, an eraser to rub out messy lines, a black marker pen to go over pencil lines, and a bunch of colouring pencils or felt tip pens to add a splash of colour!
Step 1: Drawing with pencil
-
Greetings little artists, in today’s video you will learn how to draw a delicious ice cream tower.
Oh boy, here we go. We will be sketching with a pencil, a black marker, an eraser and coloured pens. Use pencils if you prefer. The brighter, the better!
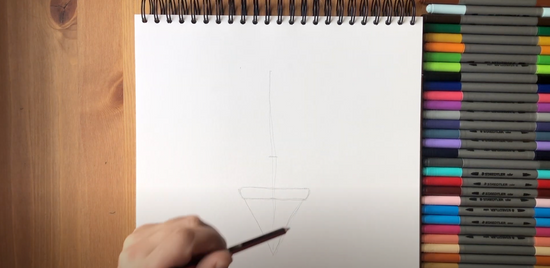
Because this is going to be a five storey-high ice cream tower we will need most of the page. Draw a straight line down as our guide.
Mark a notch halfway down, and then another three quarters of the way down. This line will be the top of the ice cream cone.
A triangle with a short rim and that our ice cream cone complete - now onto the scoops.
-
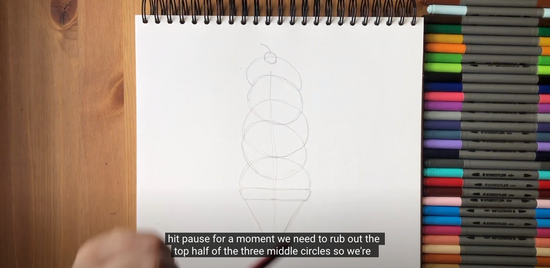
Here comes the first mound… hmm what flavour could this be?
A second mound on top. You can draw a full circle if you like, like this. We can erase the overlapping inside lines later.
Same for a yummy scoop number three. Is your mouth watering yet?
And again for the fourth scoop - this is one mighty tall ice cream tower.
Then finally, a last layer of ice cream dollopped on the top.
For the finishing touch, add a small cherry by drawing a circle and a line for its stalk.
-

Ok guys, you may want to hit pause for a moment. We need to rub out the top half of the three middle circles so we’re only left with their bottom halves. One should overlap the next like this.
Here is a bonus tip - you can make the ice cream tower look like it’s melting by adding a wavy line under each scoop…
And one giant drip all down one side. Haha, messy and sticky!
-
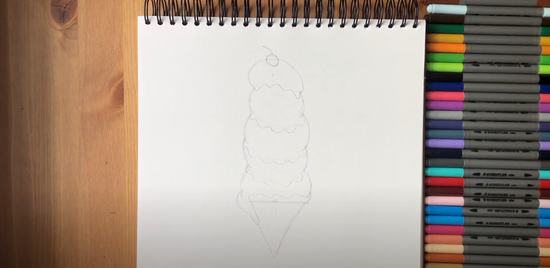
With a delicate touch, grab the raser and rub out those bottom lines of the ice cream scoops so you can only see the wavy lines.
A quick touch up here and there with the pencil.
-
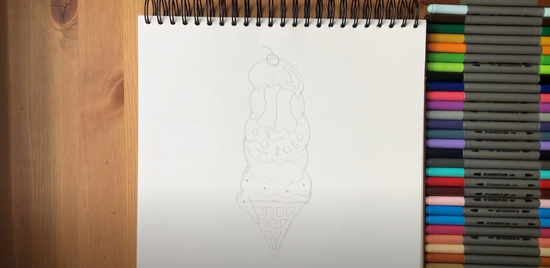
Onto the ice cream cone. They come in all different types, and some have patterns. But you can keep yours plain with one colour, you decide!
On this cone we’re going to draw on a square pattern and those inside squares will be a slightly darker shade than the background.
Ahhhh… this is where your creative side can go crazy. We need to add topics and flavours to the scoops.
Throw on some sprinkles, berries, sweets, split your scoops into coloured parts, poke in a handful of mint chocolate dots… anything you like.
Step 2: Drawing with pen
-

Ok, looking good. Now we’re ready for the black marker - let’s give our ice cream tower a strong outline.
This tower is now looking very different from that pile of circles we drew in the beginning don’t you think? But for all the right reasons!
And the beauty of drawing ice cream towers is, you can give it whatever colours and flavours you choose. Every combination of scoops is different from the next.
So, whilst you wave your magic with the black marker pen, how about 5 incredible facts about ice cream you can definitely impress your friends and family with?
Did you know… the average number of licks to finish a scoop of ice cream is 50?
The country that eats the most ice cream is USA, followed by Australia then Norway.
The most popular flavour is vanilla, then chocolate but chocolate ice cream was invented before vanilla.
There are weird and wacky flavours too… such as avocado, garlic, chilli, licorice, cheese, and bacon. What… bacon?
That ice cold headache sensation you feel when you eat too much ice cream is called “brain freeze” and it happens because you’re brain is yelling at your mouth “this is so cold!”
Wow, that was fun to know.
Ready to rub out those pencil lines now? Go right ahead!
Step 3: Colouring in
-
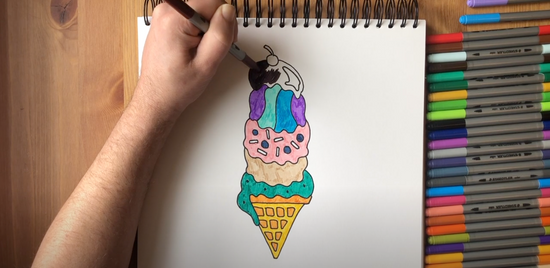
And the final stage of our masterpiece now, that’s the colouring in. Let’s see… 100% chocolate of course, and some rainbow stripes, multicolour sprinkles, a shade of vanilla… that all sounds awesome!
Take your time, we’ll check back in when you’re nearly finished.
Oh boy, what a dream ice cream tower. Excellent artwork guys. Perfect for a hot summer day.. Or any day, haha!
More food drawing ideas right here...
Try an online art tutorial
Ready for more easy drawing ideas? Try one of Quickdraw's art tutorials and raise your sketching and colouring in skills to expert level!
