How To Draw Powerpuff Girl Blossom
In this edition of Quickdraw's learn to draw series you will create your very own cartoon Blossom from the Powerpuff Girls illustration. Drawing Blossom is easier than you think when you have the right art kit and a step by step guide, like the one below. It's suitable for kids aged 4 and above, and a whole lot of fun to try at home or in art class at school. Let's start drawing and colouring!
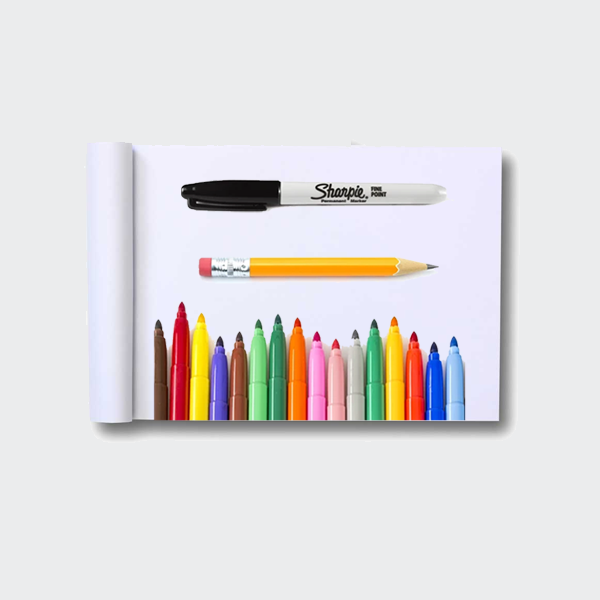
Art materials needed:
A plain sketchpad to draw on, a sharp pencil to draw with, an eraser to rub out messy lines, a black marker pen to go over pencil lines, and a bunch of colouring pencils or felt tip pens to add a splash of colour!
Step 1: Drawing with pencil
-
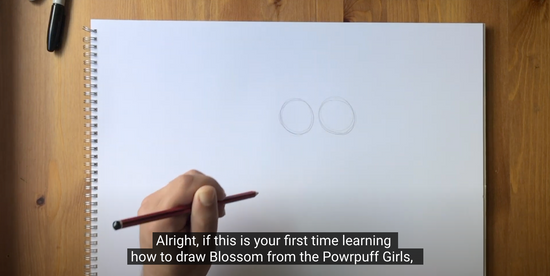
For this step by step drawing you’ll need a pencil, black marker, eraser and coloured pens or pencils: red, orange, and pink.
Alright, if this is your first time learning how to draw Blossom from the Powrpuff Girls, don’t worry - just follow our guide step by step. It’s easy!
First we have ourselves a pair of giant eyes.
-
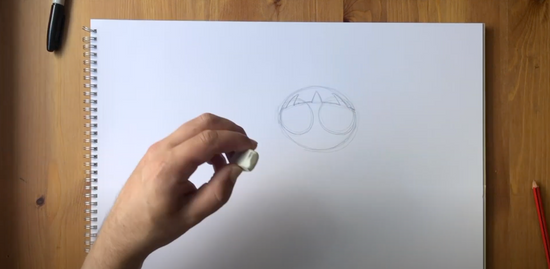
Going around these eyes is an oval shape, which is Blossom’s head. An oval is basically a flat circle.
Across the top half of her head we will draw a fringe with chunks cut out.
You may need to use your eraser to run out any lines you don’t need like this.
-
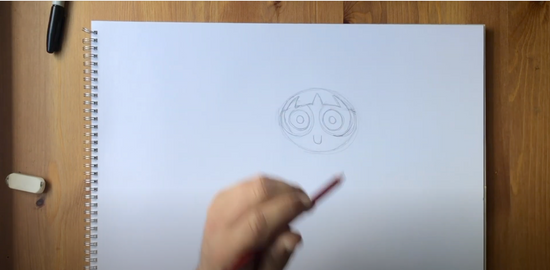
A tiny U-shaped smile down below.
Then some details in the eyes. Nice wide pupils in each.
-
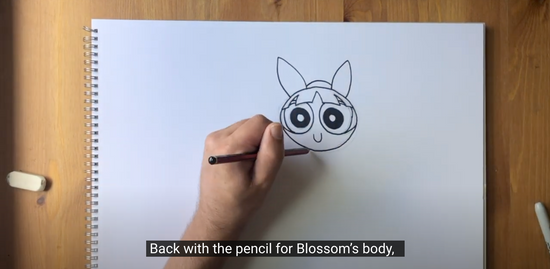
Time to grab our black marker.
Trace around those pencil lines in Blossom’s head, her hair and facial features. Nice and smoothly.
Then, for her ears, which are upright and pointy like a rabbit.
-
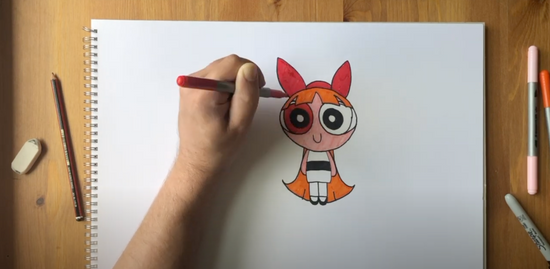
So here we go - felt tips or colouring pnecils at the ready... both are a splendid choice for making this art piece look fabulous.
And if you’re a big fan of the Powerpuff girls, you’ll know that to draw Blossom you need a shade of red and orange.
The rest of her outfit is black.
And we’re done. Thanks for joining guys.
